How-to
How to Use a Stovetop Pressure Canner: The Steps in Order
How to use a pressure canner on the stove comes down to five things. Load hot jars on the rack, let the air out, bring it to pressure, hold that pressure for the full time, and let it cool by itself. Here is the order of the steps from the USDA and the National Center. Times, pressures and water amounts come from your tested recipe and manual, so we leave them out on purpose.
Disclosure: This page contains affiliate links (marked with *). If you buy through them, we earn a small commission at no extra cost to you. As an Amazon Associate I earn from qualifying purchases. Learn more
The short answer
Check the canner, add the rack and water as your source says, load filled jars upright, lock the lid and let steam flow freely to push the air out. Then close the vent, reach the pressure your tested recipe gives for your altitude, and hold it for the full time. Turn off the heat and let it lose pressure by itself before opening.
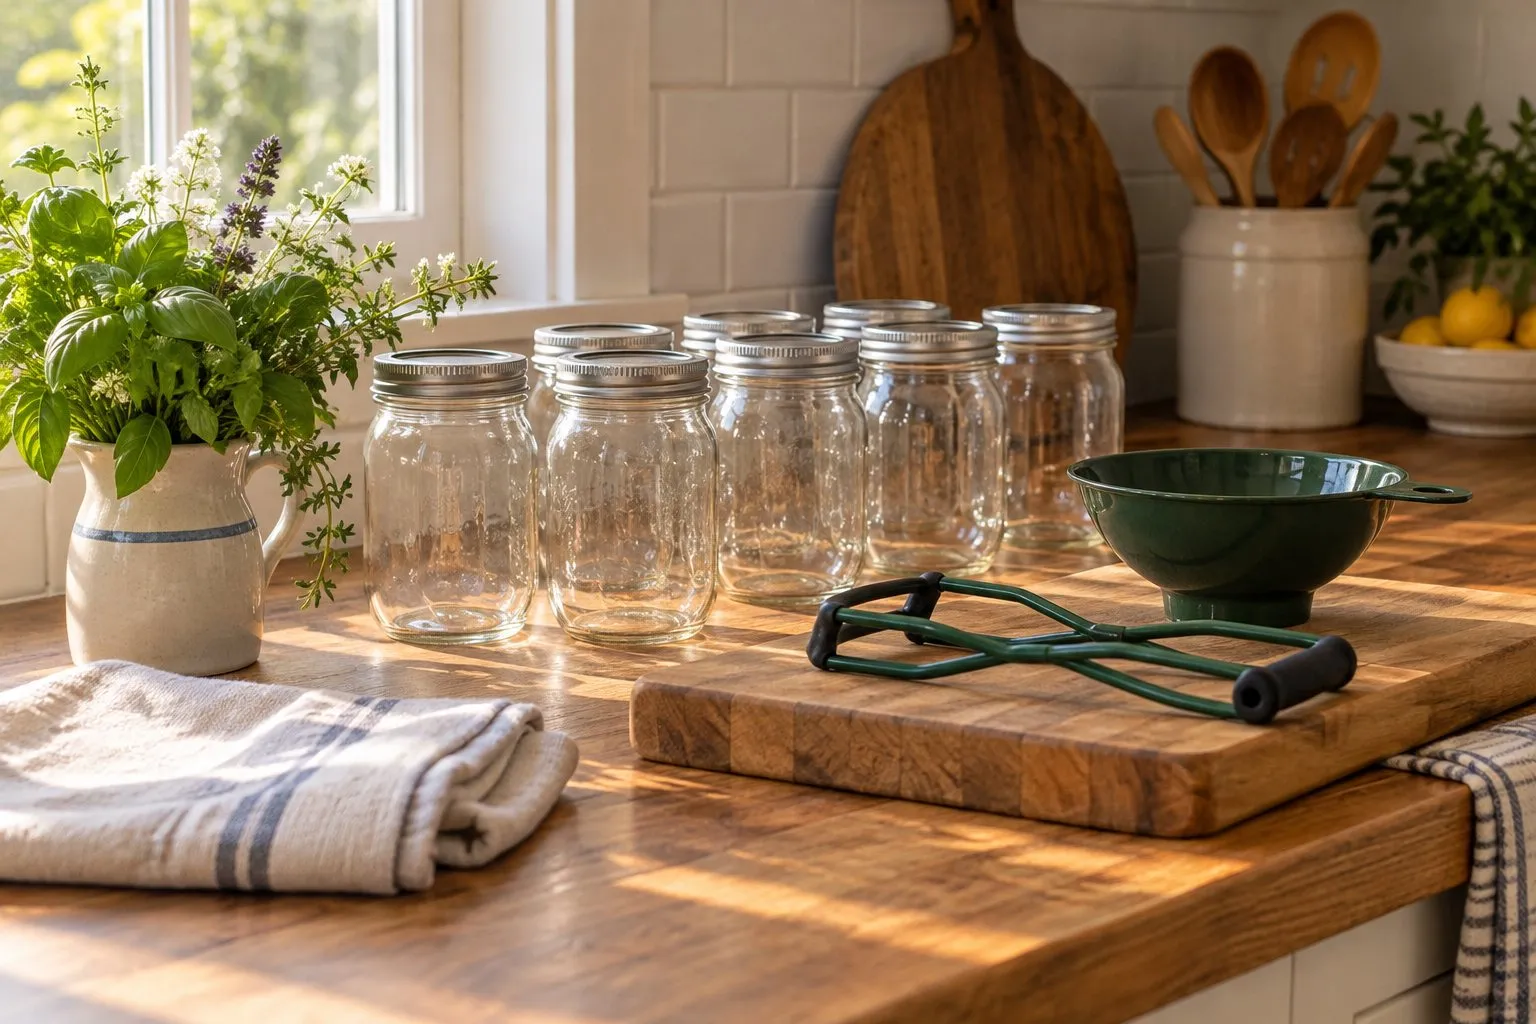
Your first time with a pressure canner can feel like a lot. It gets much calmer once you know the order of things, and many home canners were once right where you are. Set aside an unhurried stretch of time, since heating, venting, processing and cooling each take as long as they take.
What do you need?
- A pressure canner with its rack, and the manual that came with it
- A tested recipe, which sets the process for your food and jar size
- Your altitude, because it changes the pressure. The altitude page explains and links to the USDA tables
- Mason jars, new lids, screw bands, a jar lifter and a towel
We don't print times, pressures, water amounts or headspace (the gap at the top of the jar) on this page. The USDA Complete Guide (Guide 1, pages 1-19 to 1-26) and the National Center's Using Pressure Canners walk through the same steps with those figures. The National Center for Home Food Preservation is the US canning experts at the University of Georgia. Your canner's manual speaks for your exact model. Where a manual and this page differ, follow the manual and your tested source.
What are the steps?
Check the canner
Clean the gasket and parts as the manual says, and make sure the vent pipe is clear. Center the canner on a level burner. The National Center says a canner generally should not go on an outdoor LP gas burner or a gas range burner over 12,000 BTUs.Add the rack and water
Put in the rack and hot water, using the amount your tested recipe or manual gives. Some foods need more than others, so read this each time.Load the jars
Set filled, lidded jars on the rack with a jar lifter, gripping below the band. Keep each jar upright, since tilting can put food in the sealing area. Fasten the lid securely.Let the air out
Leave the weight off or the petcock (a small valve) open. Heat on high until steam flows freely, then let it flow for the full venting time in the USDA guide or your manual. This pushes out the air. Trapped air means a lower temperature at the same pressure.Bring it to pressure
Put the weight on the vent pipe or close the petcock. Start timing only when the dial shows the pressure your recipe gives for your altitude, or the weighted gauge jiggles or rocks as the maker describes.Hold the pressure
Change the heat to keep a steady pressure at or slightly above the target. If it ever falls below the target, bring it back and start the timing over from the beginning, with the full original time.Let it cool by itself
Turn off the heat and let the canner lose pressure naturally. Don't cool it with water, and don't open the vent early. The National Center says forced cooling may spoil the food. It can also cost you liquid and seals.Open the lid
Once the pressure is gone, take off the weight or open the petcock, wait the time your source gives, and unfasten the lid. Lift it away from you so steam can't reach your face. Never force a lid that won't open. The cover lock is there for a reason.Cool and check the jars
Lift the jars out upright onto a towel, with space between them. Leave them alone for the cooling time in the USDA guide. Don't tighten the bands. Then test each seal, as described below.
How do dial and weighted gauges differ?
On a dial-gauge canner, the National Center says only the dial shows the pressure. The small weight on the vent pipe seals it and doesn't rock like a weighted gauge. On a weighted-gauge canner, you read the pressure by the jiggle or the rocking, and your manual says what yours should do. The gauge comparison explains how to choose. North Dakota State adds that you should check a dial against a calibrated gauge every year.
What do you do once the jars have cooled?
The USDA gives three ways to test a seal. Press the middle of the lid. If it springs back, it hasn't sealed. Tap it with a spoon. A sealed jar gives a high ringing sound. Or look across the lid at eye level. It should curve down slightly. Then take off the bands, wash the jars, label them, and store them somewhere clean, cool, dark and dry.
Remember what a seal can and can't tell you. It does not show that the food got the heat it needed. The National Center says never to taste a suspect jar, because spoiled low-acid food may show little or no sign. Our botulism page explains why. Jars not sealing covers lids that fail the test.
What mistakes should you avoid?
- Using a recipe with no tested process. The CDC points to the USDA guide, the National Center and extension offices. The tested recipes page shows where to look.
- Forgetting your altitude. The USDA says canners must run at higher pressure for the listed altitude ranges.
- Skipping or shortening the air-out step. It looks like nothing is happening, and yet it matters a great deal.
- Rushing the cool-down. The National Center says the cooling period is part of the process.
- Sliding the canner. The National Center says to lift it, and to leave it in place if it's too heavy to move easily.
- Treating a cooker as a canner. See pressure canner vs. pressure cooker.
What's next?
Still choosing a pot? Our stovetop canner guide compares the options. This is the one we'd begin with:
Presto
Presto 23-Quart Stovetop (01781)
A pot for your stove, the kind the USDA's canning steps were written for.
- Type
- Stovetop pressure canner with dial gauge
- Pressure canning
- Yes
- Water bath
- Yes, quarts and smaller, per Presto
- Liquid capacity
- 23 quarts
- Jars per load
- 7 quarts, or 20 regular-mouth pints stacked
- Altitude
- You raise the pressure by altitude from the USDA tables. Water bath times also change with altitude.
- Price class
- Mid-range
Stated in: Presto Canner Comparison Guide (2025), read 2 November 2026
Why here: Our stovetop pick: a dial-gauge pot with a documented jar chart, and the type the National Center says its instructions were written for.
Best for: You want to pressure can low-acid foods (vegetables, meat, chicken, fish) and can stay near the stove.
- The National Center's advice was written for stovetop canners
- Seven quart jars, or up to 20 regular-mouth pints stacked, says Presto
- Also works as a water bath canner for quarts and smaller, says Presto
- Works on gas and on electric coil and smooth-top ranges, says Presto
- You watch the gauge and adjust the heat yourself
- The dial gauge needs an accuracy test every year, says Presto
- Presto does not list induction for this pot. The 01784 is its induction version
Plug-in machines follow a different order of steps. See how to use an electric pressure canner. You'll get the feel of this with your first batch or two.
What people ask
How much water do I put in a pressure canner?
We print no figure, because the amount isn't the same for every food or canner. The USDA and the National Center give a general starting depth, and both say some foods need more. Smoked fish is the National Center's example. Follow your tested recipe first, then your canner's manual.
Do I have to let the air out of a pressure canner?
Yes. The USDA says all types of pressure canners must have the air let out before they're pressurized, because trapped air lowers the temperature for a given pressure and leads to under-heating. The USDA and the National Center give the time. A machine that does it by itself is a different case, covered in its manual.
What if the pressure drops during processing?
The USDA says to bring the canner back to pressure and start the timing over, from the beginning, with the full original time. It may cost some quality. The National Center calls this extremely important for food safety. Big swings can also pull liquid out of the jars, so change the heat gently.
Can jars touch when pressure canning?
We read one direct statement. Presto's manual for its 16-quart and 23-quart digital canners says jars may touch when you stack two layers, one jar on top of two. We didn't find this in the USDA guide, and we didn't read a manual for every stovetop pot. Check the one that came with yours.
Where this comes from
- USDA Complete Guide to Home Canning, revised 2015, Guide 1 (pages 1-19 to 1-26)
- NCHFP / UGA Extension: Preserving Food, Using Pressure Canners (June 2025)
- CDC: Home-canned foods and botulism (April 25, 2024)
- NDSU Extension: Pressure Can It Right! FN2064 (revised August 2026)
- Presto: Instructions for the 02153 and 02154 digital canners
More from the shelf
- Buying guideStovetop cannersA stovetop pressure canner is the type the canning experts wrote their advice for. See dial vs weighted gauge, jar counts, stove fit and our pick.
- ExplainerTested recipesWe publish no canning recipes. Here is where tested ones live: the USDA guide, the National Center, your extension office and your manual.
- ExplainerAltitudeHigh altitude canning depends on your machine: USDA tables for stovetop canners, Presto's sensor claim, NESCO's regulators and water bath changes.
- How-toCanner manualsWhere to find the official Presto and NESCO pressure canner manuals, what we could not open for Ball, and why your own manual comes first.
- How-toUsing an electric cannerHow to use an electric pressure canner: the phases of a Presto Precise run, common mistakes, and where times and recipes come from.
Who writes here
electricpressurecanner.com Editorial Team
Machine comparisons & source reading
We are the editorial team at electricpressurecanner.com. We read manuals, spec sheets and the statements of NCHFP, USDA, CDC and Extension services, and we report who says what, with dates. No lab work happens here, and this site publishes no processing times or recipes of its own.
- Manuals and food-safety guidance read
- Sources and dates on every page
- No lab tests, stated openly
- No own processing times or recipes